初のGoプログラミングでtestやreleaseを自動で実行するまで
今年はコーディングをもっと頑張ろうと思い、前から気になっていたGo言語に挑戦してみています。
コーディング自体も癖はありつつも楽しいんですが、test, installやrelease作成など周辺の仕組みが洗練されていて初心者でも簡単にできました。
試しにCLIツールを作ってみたんですが、その際に諸々整えた流れをまとめておこうと思います。
作ったもの
https://github.com/koh-sh/termclock
ターミナルに大きく時刻を表示するCLIです。
特に実用性はないですが学習目的でお遊びツールとして書いています。
今回整えたCI周りも全てリポジトリで公開しています。

開発環境
ローカルのMacにHomeBrewでGoをインストールしています。
エディタはVSCodeで公式?のextensionを使っています。
 1[koh@Kohs-MacBook-Pro-M1-387] ~
 2% sw_vers
 3ProductName:		macOS
 4ProductVersion:		13.0.1
 5BuildVersion:		22A400
 6[koh@Kohs-MacBook-Pro-M1-387] ~
 7% go version
 8go version go1.19.4 darwin/arm64
 9[koh@Kohs-MacBook-Pro-M1-387] ~
10%
test
Goの場合testサブコマンドがあるので特に別のツールをインストールする必要はないです。
例えばmain.goのテストを書く時はmain_test.goファイルを作成して、その中に関数ごとのテストを書いていくのですがVSCodeのGo extensionだとその辺の準備を全部やってくれます。
テストを作成したい関数にカーソルを合わせて右クリックし、Go: Generate Unit Tests For Functionを選択するとテスト用のファイルとテスト用の関数のテンプレを用意してくれます。
サンプルとして素数判定の関数とそのテストを作成しています。

あとは // TODO: Add test cases.となっているところにテストケースを追加します。
testsにテストケース名、与える引数、期待値を入力するだけで簡単なテストを実行できます。
 1	tests := []struct {
 2		name string
 3		args args
 4		want bool
 5	}{
 6		// TODO: Add test cases.
 7		{name: "3 should be prime",
 8			args: args{3},
 9			want: true},
10		{name: "4 should not be prime",
11			args: args{4},
12			want: false},
13	}
 1[koh@Kohs-MacBook-Pro-M1-387] ~/work/hoge
 2% go test -v
 3=== RUN   Test_isPrime
 4=== RUN   Test_isPrime/3_should_be_prime
 5=== RUN   Test_isPrime/4_should_not_be_prime
 6--- PASS: Test_isPrime (0.00s)
 7    --- PASS: Test_isPrime/3_should_be_prime (0.00s)
 8    --- PASS: Test_isPrime/4_should_not_be_prime (0.00s)
 9PASS
10ok  	example	0.231s
11[koh@Kohs-MacBook-Pro-M1-387] ~/work/hoge
12%
release
GoReleaserを使うと全てやってくれました。
設定によりできることは色々ありそうですがデフォルトだと
- クロスコンパイル
- GitHubへのバイナリアップロード
- GitHubのrelease作成
をやってくれます。
HomeBrewでインストールした後に
1brew install goreleaser
Quick Startの内容をやればリリースがリポジトリに作成されます。
goreleaser initを実行すると .goreleaser.yamlを作成してくれます。
 1% cat .goreleaser.yaml
 2# This is an example .goreleaser.yml file with some sensible defaults.
 3# Make sure to check the documentation at https://goreleaser.com
 4before:
 5  hooks:
 6    # You may remove this if you don't use go modules.
 7    #- go mod tidy
 8    # you may remove this if you don't need go generate
 9    #- go generate ./...
10builds:
11  - env:
12      - CGO_ENABLED=0
13    goos:
14      - linux
15      - windows
16      - darwin
17
18archives:
19  - format: tar.gz
20    # this name template makes the OS and Arch compatible with the results of uname.
21    name_template: >-
22      {{ .ProjectName }}_
23      {{- title .Os }}_
24      {{- if eq .Arch "amd64" }}x86_64
25      {{- else if eq .Arch "386" }}i386
26      {{- else }}{{ .Arch }}{{ end }}
27      {{- if .Arm }}v{{ .Arm }}{{ end }}
28    # use zip for windows archives
29    format_overrides:
30    - goos: windows
31      format: zip
32checksum:
33  name_template: 'checksums.txt'
34snapshot:
35  name_template: "{{ incpatch .Version }}-next"
36changelog:
37  sort: asc
38  filters:
39    exclude:
40      - '^docs:'
41      - '^test:'
42      - '^chore:'
43
44# The lines beneath this are called `modelines`. See `:help modeline`
45# Feel free to remove those if you don't want/use them.
46# yaml-language-server: $schema=https://goreleaser.com/static/schema.json
47# vim: set ts=2 sw=2 tw=0 fo=cnqoj
基本的にデフォルトのままで大丈夫だと思いますが、私の場合hookは不要(なはず)なのでコメントアウトし、changelogのfiltersにchoreも追記しました。
CI
上記のtestとrelease作成両方ともGitHub Actionsで実行できます。
test
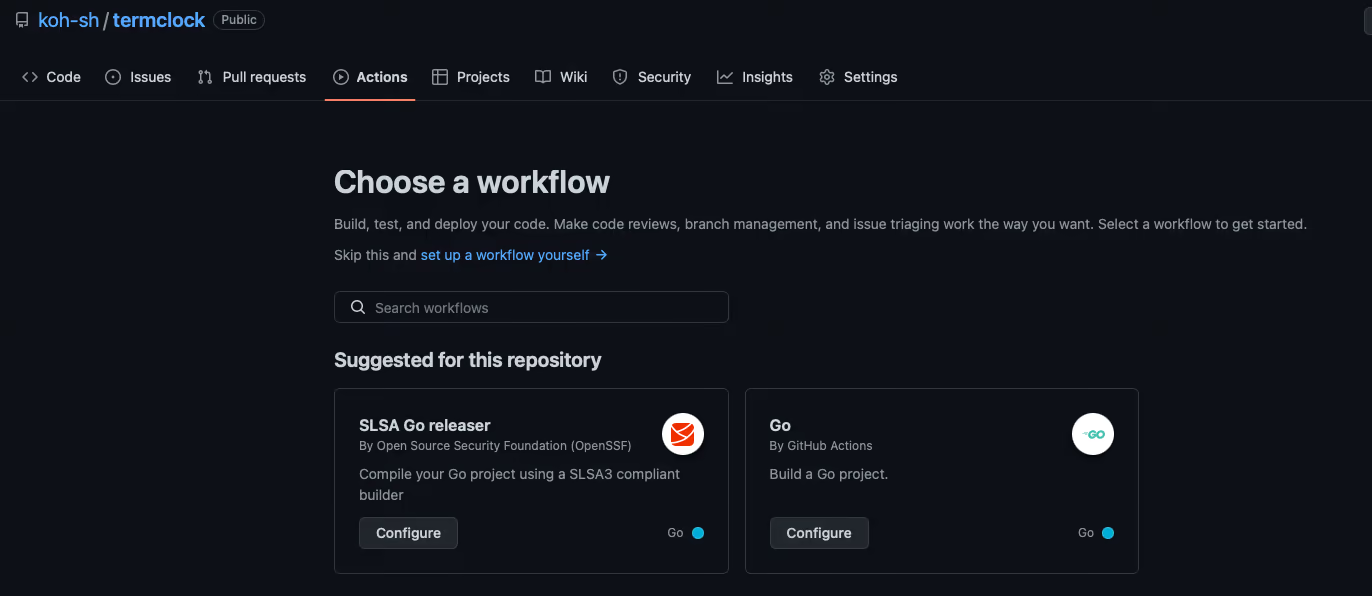
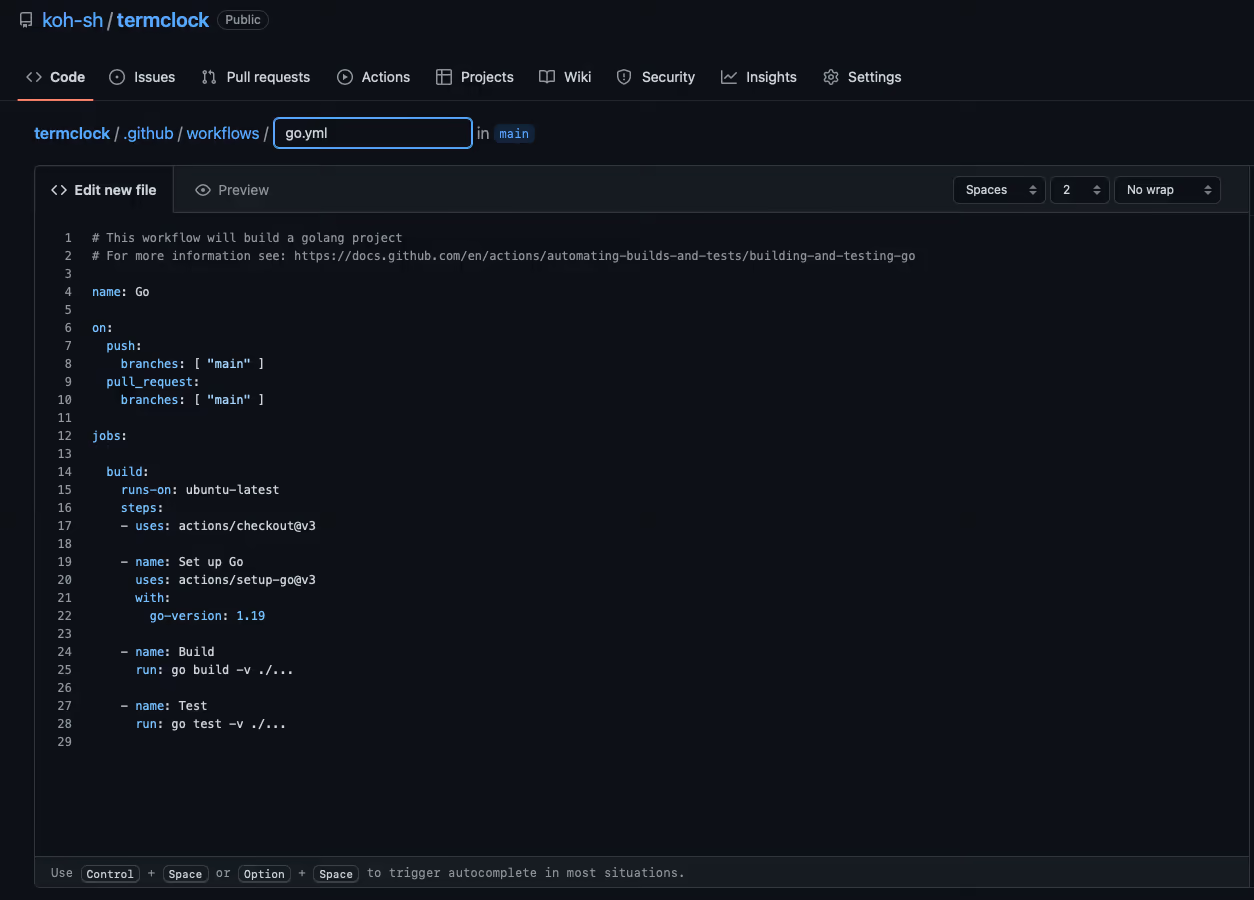
Actionsタブで公式のgoのworkflowがそのままtest用として利用できます。
mainにpushかPRが発行されたときに動く形になっているので適宜変更してください。


release
GoReleaserの公式のGitHub Actionsが用意されているのでそのまま使用します。
実行をtag pushに変更しています。
 1name: goreleaser
 2
 3on:
 4  push:
 5    tags:
 6      - 'v*'
 7
 8jobs:
 9  goreleaser:
10    runs-on: ubuntu-latest
11    steps:
12      -
13        name: Checkout
14        uses: actions/checkout@v3
15        with:
16          fetch-depth: 0
17      -
18        name: Set up Go
19        uses: actions/setup-go@v3
20      -
21        name: Run GoReleaser
22        uses: goreleaser/goreleaser-action@v4
23        with:
24          # either 'goreleaser' (default) or 'goreleaser-pro'
25          distribution: goreleaser
26          version: latest
27          args: release --rm-dist
28        env:
29          GITHUB_TOKEN: ${{ secrets.GITHUB_TOKEN }}
30          # Your GoReleaser Pro key, if you are using the 'goreleaser-pro' distribution
31          # GORELEASER_KEY: ${{ secrets.GORELEASER_KEY }}
これでtag pushすると実行されて自動でrelease作成してくれます。
まとめ
初めて色々触ってみましたが基本的に開発に必要なものが、GoやGitHubの機能で完結するのはとても体験がいいなと思います。
ほぼデフォルト設定でいい感じにできたのでコードを書くことに集中しやすそうです。
 はてブ
はてブ